


Une paire de pantalons en sweat recyclé * Two pairs of upcycled sweatshirt trousers

Le mini monkey n'est plus si mini que ça... Ces derniers mois il a bien grandi, et par conséquent, ses pantalons taille 12 mois font un peu bermuda qui aurait rétréci au lavage. Il était temps d'agir (je vous ai déjà dit que j'étais la reine de la dernière minute ?!). J'ai trouvé le patron qui va bien dans mon numéro préféré d'Ottobre (le pantalon numéro 10 dans l'édition 1/2015): confortable, avec des poches, et offrant la possibilité de recycler des sweats taille adulte comme base.
The mini monkey isn't so mini any more... These last few months he has grown quite a lot, and his 12-months-sized trousers now look like shrunken leggings. Not a good look. Luckily I found the perfect pattern in my favourite Ottobre catalogue, the number 10 trousers in issue 1/2015. They looked comfy, practical, and with the added bonus of the possibility of upcycling adult sweatshirts to make them.

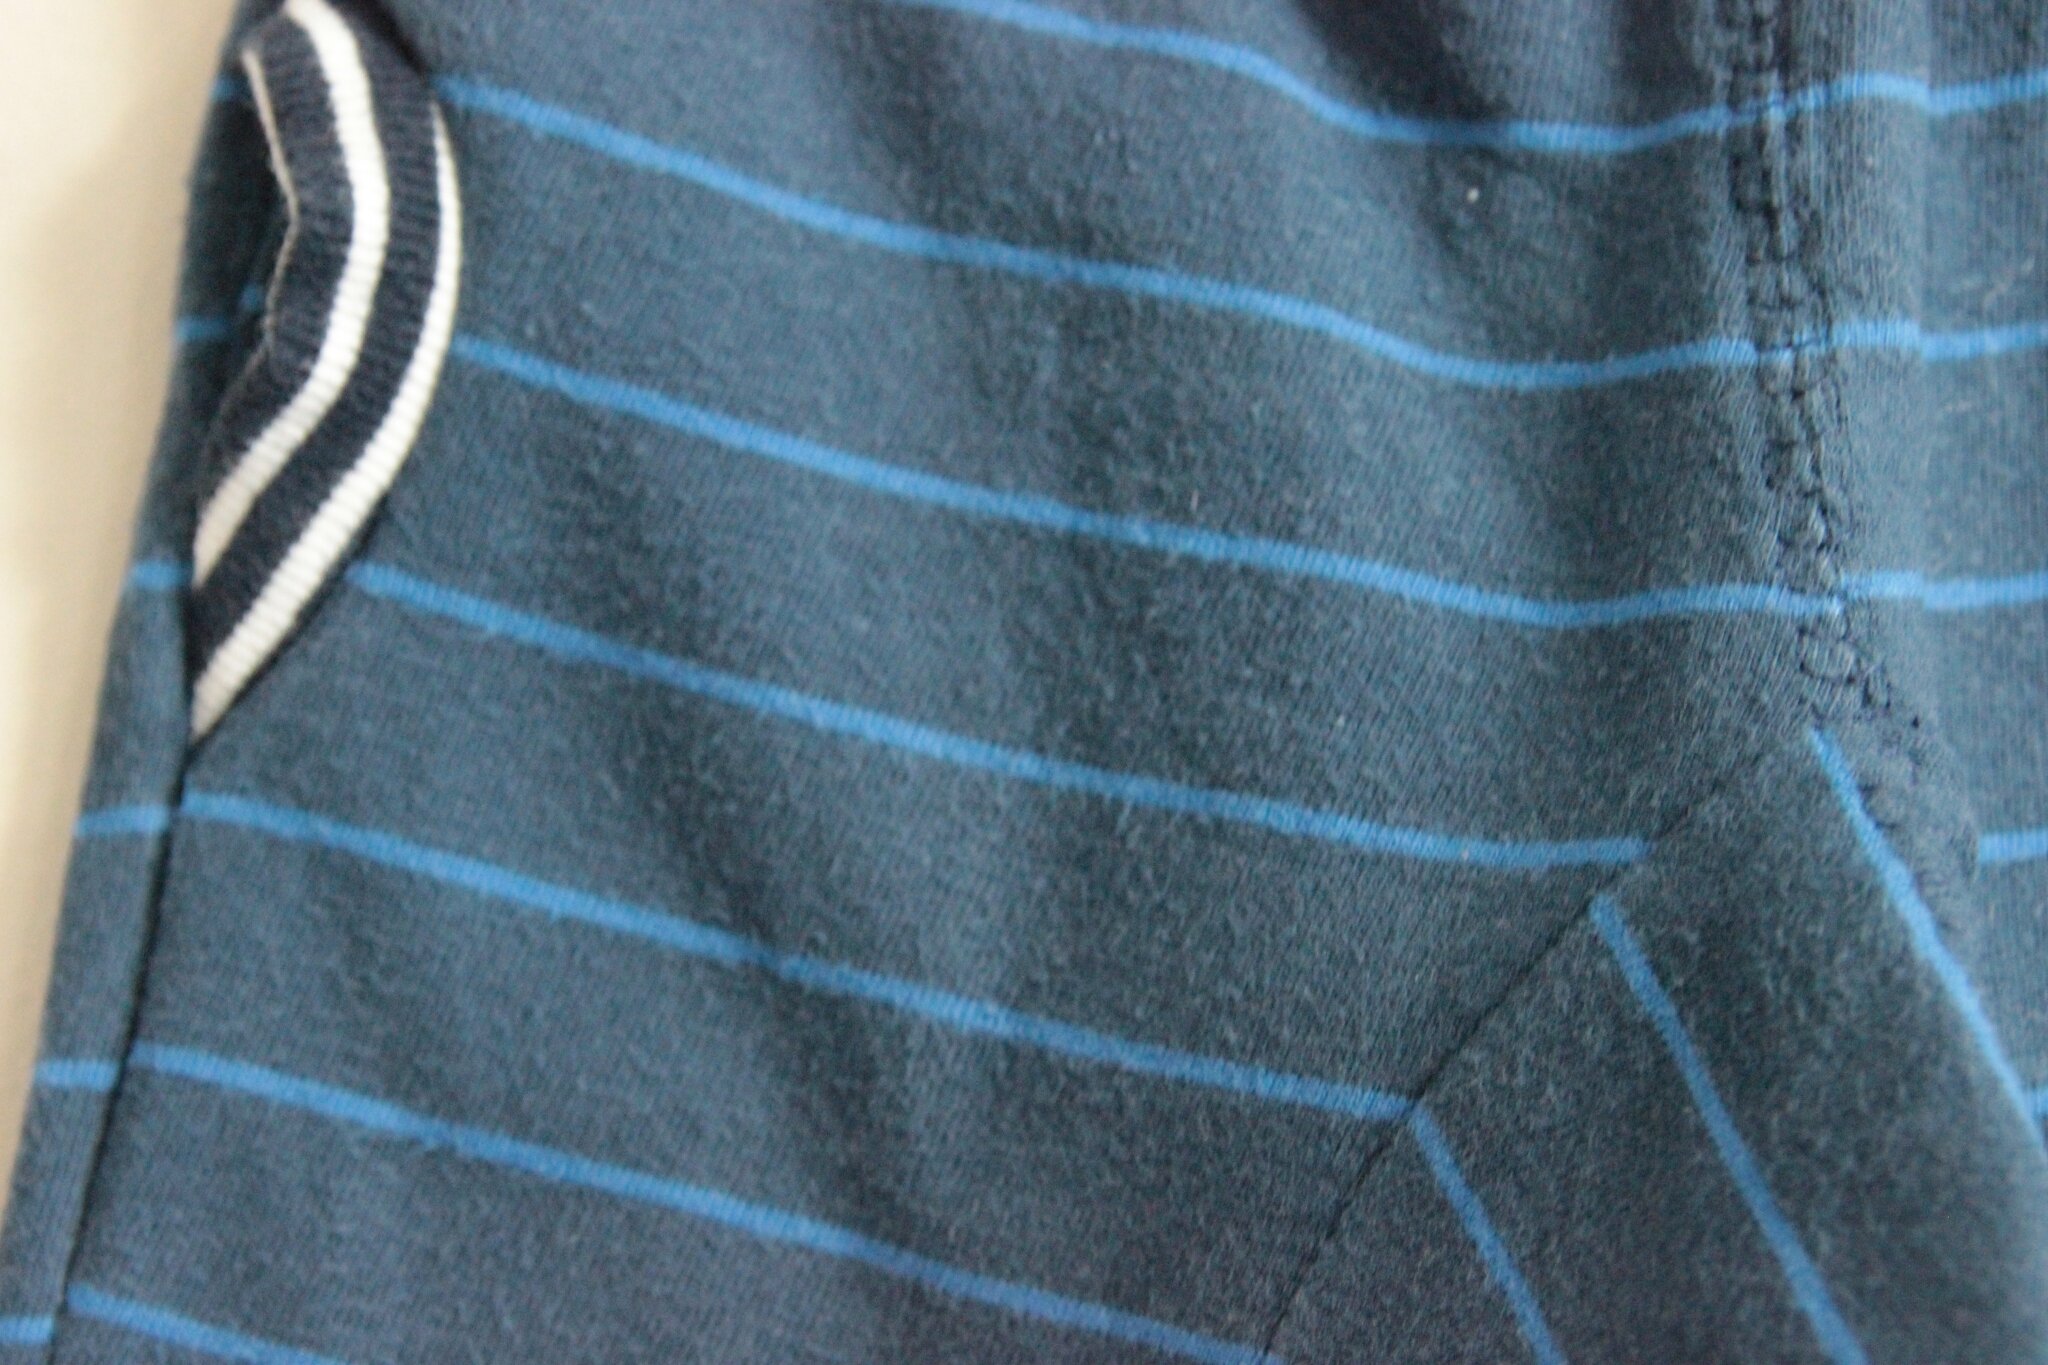


La partie recyclage était assez satisfaisante, les pièces rentraient tout juste dans les manches du sweat (en rognant un peu sur les marges de couture), le bord-côtes fonctionne bien pour le bas des jambes, et j'aime assez les petits détails d'origine que l'on retrouve ici et là. Par contre la construction du modèle m'a donné du fil à retordre, principalement parce que les instructions sont assez laconiques. Je vous propose donc un petit pas-à-pas au cas où ce petit pantalon vous tenterait.
The upcycling part was quite pleasing, the pattern pieces fitted (just about, by reducing the seam allowances) in the sleeves of the sweatshirts, the ribbing works well at the bottom of the legs, and I am very fond of the small original details which appear here and there on the finished garments. However I did struggle to assemble this model, mainly because of the ultra concise instructions. So I have put together a small how-to, in case you fancy sewing one of these up yourself.


Le voilà. J'ai essayé d'être claire mais je ne suis vraiment pas sure d'avoir réussi ! Donc n'hésitez pas à me faire part de vos commentaires... J'oublie toujours de prendre des photos au fur et à mesure que je couds, ce serait certainement mieux, mais je suis toujours pressée, et jamais sure d'être assez contente du résultat final pour le présenter sur le blog ! Excusez le bazar ambiant dans la photo précédente, c'est comme ça que je couds (par terre, et dans la désorganisation la plus totale...) !
So here it is. I tried to produce some reasonably clear steps, but am pretty sure I failed on that front. Do give me feedback! I always forget to take pictures whilst I am actually sewing, usually because I need to be quick, and also because I am never sure whether I will be pleased enough with the finished item to share it on the blog... Do forgive the mess on the previous photo, I am afraid I have to confess that this is how I sew...
L'originalité de ce modèle vient de ses poches et de l'empiècement arrondi à l'entrejambe, empiècement que j'ai cousu dans le mauvais sens pour la première version (la rouge), d'où un certain effet "fesses de babouin"...
The originality of this pattern comes from the pockets, and the rounded crotch piece, which I actually sewed on the wrong way round on my first version, giving a distinct "baboon bun" effect...
a) Poches :
- on coud la partie avant de la poche (celle avec l'encoche arrondie) envers contre envers avec l'avant de la jambe, le long des marges de couture (et bien à l'intérieur desdites marges, pour que la couture ne se voie pas)
- On coud le bord-côtes endroit contre endroit le long de l'ouverture de poche, puis on le plie en deux envers contre envers et on refait une ligne de couture le long de l'arrondi pour fermer le "tube" de bord-côtes
- on retourne le bord côtes vers l'extérieur de la poche (pour que la couture se retrouve à l'intérieur et ne se voie pas), et on coud le fond de poche endroit contre endroit le long des marges de couture (attention de pas prendre la jambe de pantalon dans la couture du bord arrondi de la poche)
a) Pockets:
- stitch the front part of the pocket (with the rounded cut out) to the front leg wrong sides together, within the seam allowance
- stitch the ribbing to the rounded cut out edge of the front leg, then fold it in half wrong sides together to form a sort of tube, then stitch again along the rounded edge
- turn the ribbing towards this outside of the trousers so that the stitching is hidden inside the pocket and that the folded edge of the ribbing faces towards the outside leg. Stitch the back of the pocket right side together along the seam allowances (taking care to only stitch the pocket pieces together on the rounded edge, not the leg piece)
b) Coudre les parties avant ensemble endroit contre endroit le long du bord central. Idem pour les parties arrières
b) Sew the two front pieces right sides together along the centre seam. Repeat for the two back pieces
c) Maintenant pour la partie délicate : attacher l'empiécement arrondi à l'entrejambe. Il se place à l'horizontale et se coud le long de l'arrondi pour former un devant et un dos. Dans ma première version j'avais bêtement cousu ensemble les deux parties de l'empiècement que j'avais ensuite tenté de coudre aux jambes déjà assemblées, tout en essayant de faire coincider la couture d'entrejambe... j'aurais du me doute que je faisais fausse route...
Donc pour faire ça bien comme il faut il suffit d'épingler, endroit contre endroit, le bord arrondi de l'empiècement avec le bord arrondi du devant des jambes, et de coudre en place. On répète l'opération pour l'arrière, puis on assemble l'avant et l'arriére à l'entrejambe et sur les côtés (d).
c) Now comes the fun part: sewing the crotch gusset. It actually sits horizontally across both front pieces (and the second piece sits horizontally across the two back pieces) so you end up with a front and a back. In my first version I somehow sewed the two crotch pieces together to make a circle and stitched that (with much difficulty) to the joined up front and back leg pieces, trying to match the centre seams! Not to be recommended.
So to do it properly, just pin the rounded edges of the crotch gusset and of the joined up legs right sides together, and stitch in place. Repeat for the back, then join the front and back together along the side seams (d). Easy!
e) Il ne reste plus qu'à faire un couture décorative le long de la couture d'entrejambe et de finir la taille et les jambes (ou non si vous avez utilisé un bas déjà fini, comme moi !)
e) All that is left to do is to apply some decoratives stitching to the central seam (and around the gusset if you wish) and to finish the waist and hems. Or you can take a shortcut like me and use an already finished edge for the bottom of the legs!
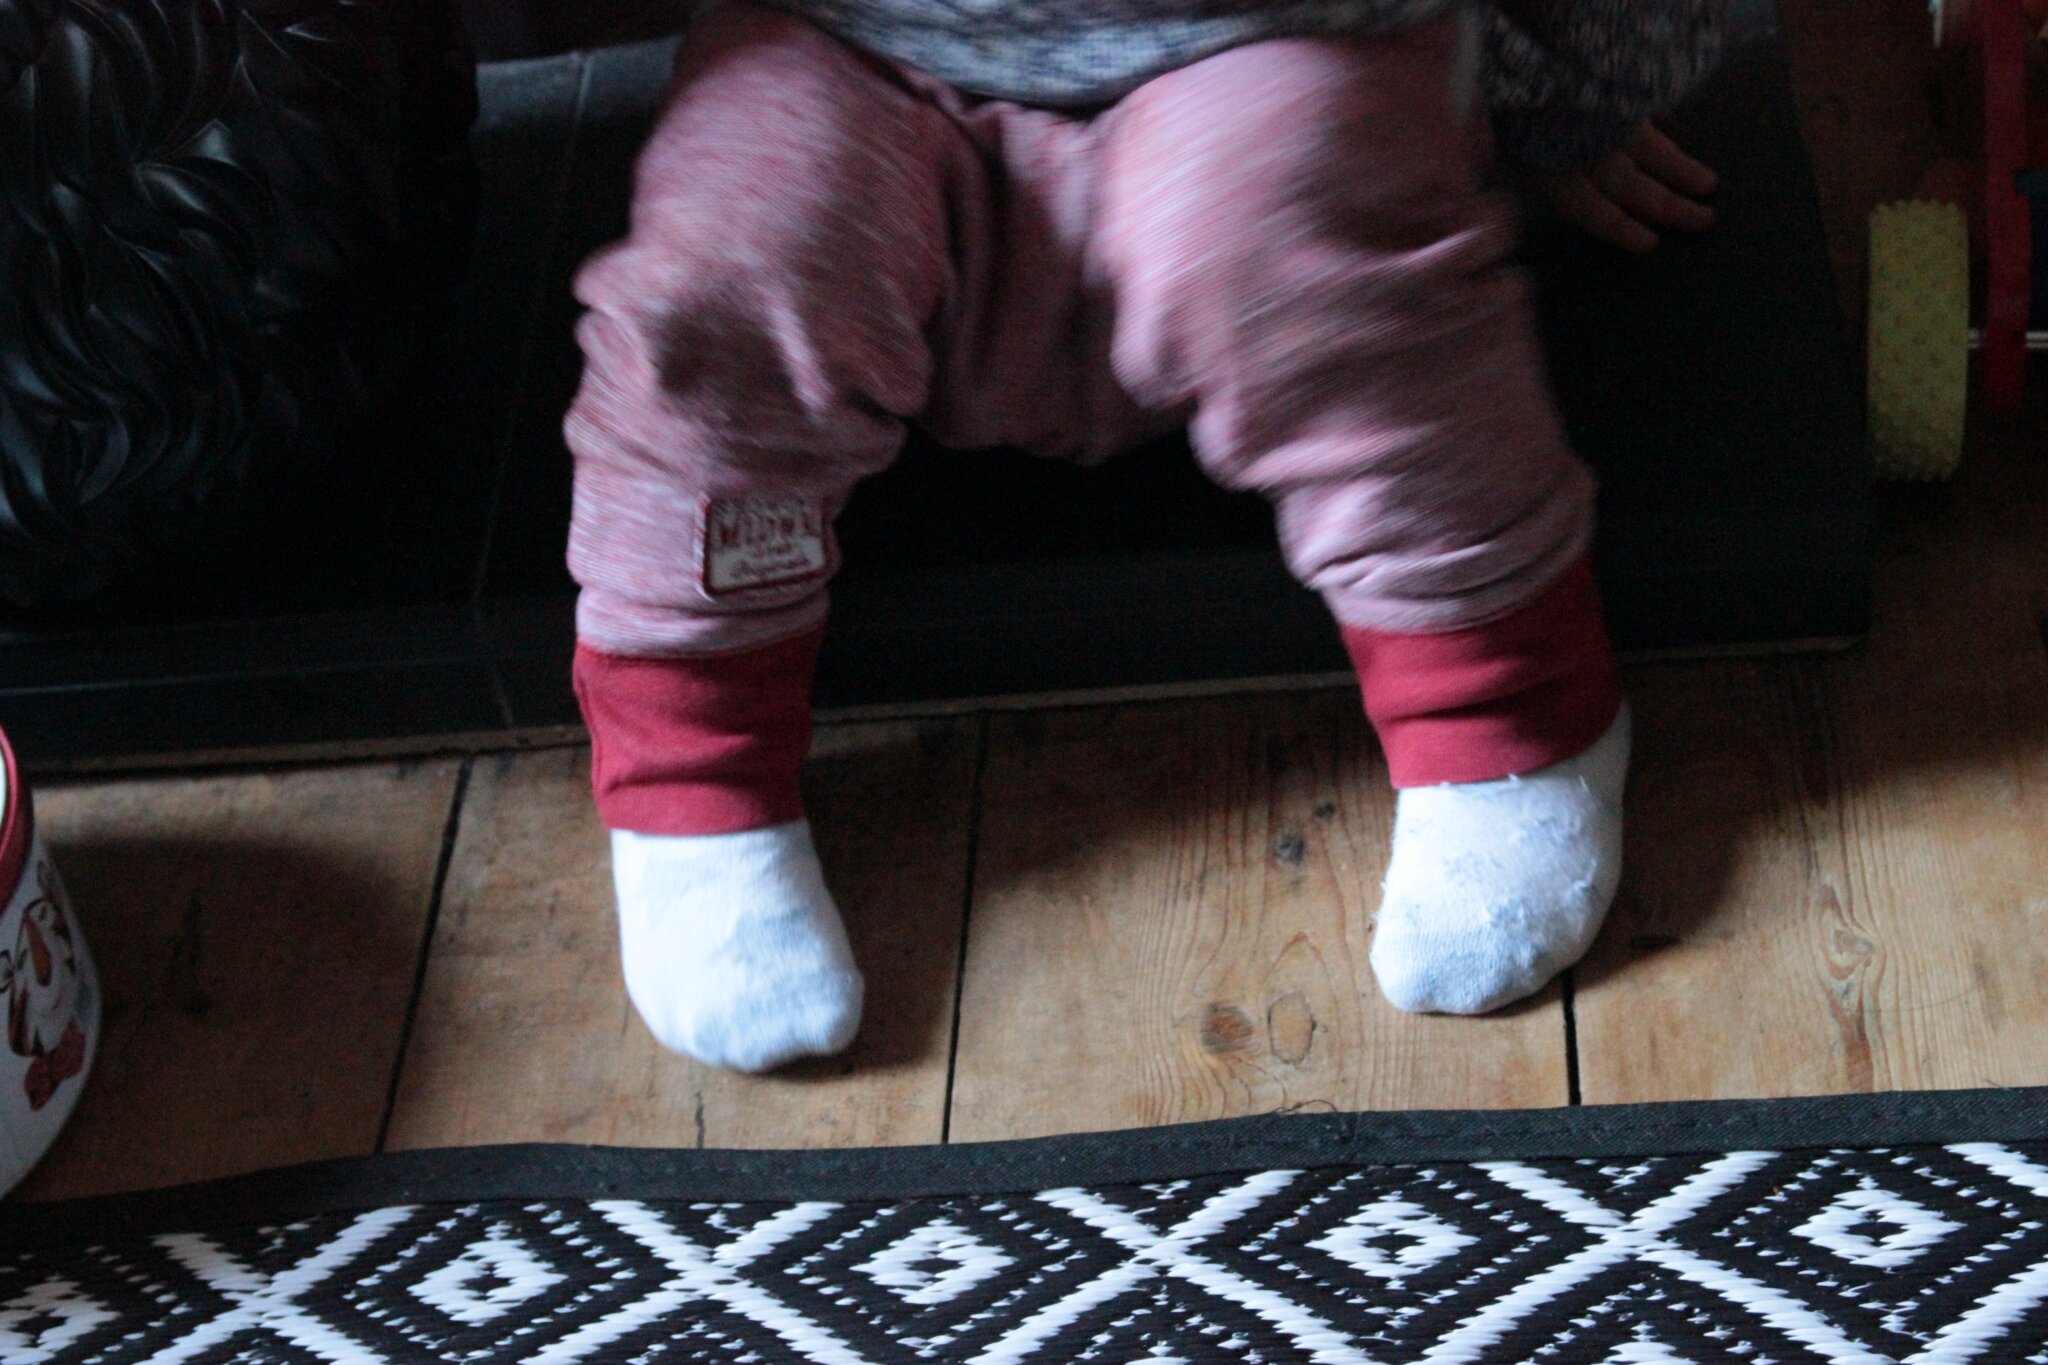
Maintenant, place à la demonstration par le mini monkey: le pantalon ne le gène pas dans ses mouvements, il peut faire des figures artistiques sur le parquet et se rouler dans l'herbe sans problème (vous remarquerez l'effet "fesses de babouin" du panatlon rouge... quoique pour un singe, c'est assez approprié !
Now here is the mini monkey demonstrating how practical and comfy his new trousers are: he can easily roll around in the grass and stretch out on the floor without his movements being impeded... although he does have a case of the "baboon bum" in the last few pictures... oh well, at least it is fitting, for a monkey!


A bientôt, je n'ai rien posté en novembre mais j'ai pas mal cousu, et ce mois-ci vous aurez même le droit à une interview !! Suspense... ;)
See you soon! I didn't post in November but I have been active behind the scenes... more sewing posts coming soon, and also for the first time an interview ! It will be good, I promise !


***
Partager cet article


/http%3A%2F%2Fstorage.canalblog.com%2F24%2F40%2F1051834%2F119604707_o.jpg)
/http%3A%2F%2Fstorage.canalblog.com%2F23%2F31%2F1051834%2F113950086_o.jpg)
/http%3A%2F%2Fstorage.canalblog.com%2F16%2F21%2F1051834%2F110242933_o.jpg)
/http%3A%2F%2Fstorage.canalblog.com%2F95%2F81%2F1051834%2F99269869_o.jpg)
/https%3A%2F%2Fprofilepics.canalblog.com%2Fprofilepics%2F9%2F5%2F952240.jpg)
/https%3A%2F%2Fstorage.canalblog.com%2F74%2F75%2F1051834%2F97390995_o.jpg)
/https%3A%2F%2Fstorage.canalblog.com%2F08%2F42%2F1051834%2F97392126_o.jpg)
/https%3A%2F%2Fstorage.canalblog.com%2F25%2F33%2F1051834%2F88362328_o.jpg)
/https%3A%2F%2Fstorage.canalblog.com%2F86%2F51%2F1051834%2F88361883_o.jpg)
/https%3A%2F%2Fstorage.canalblog.com%2F28%2F87%2F1051834%2F88362950_o.jpg)